Easy repair for a bothersome exhaust fan
Next Task’ 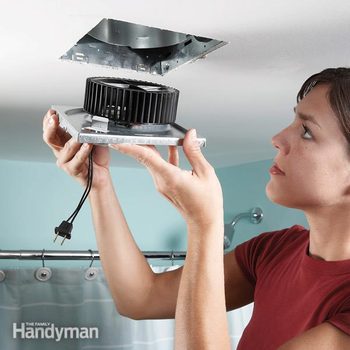 Household Handyman If the bath fan in your house is more than twenty years old, possibilities are it’s quite loud. A loud fan might benefit masking restroom sound, however the jet engine holler is downright irritating the remainder of the time. Even worse yet, your old bath fan might not be moving enough air to keep your restroom devoid of mold and mildew.
You may likewise like: TBD
Changing a loud bath fan
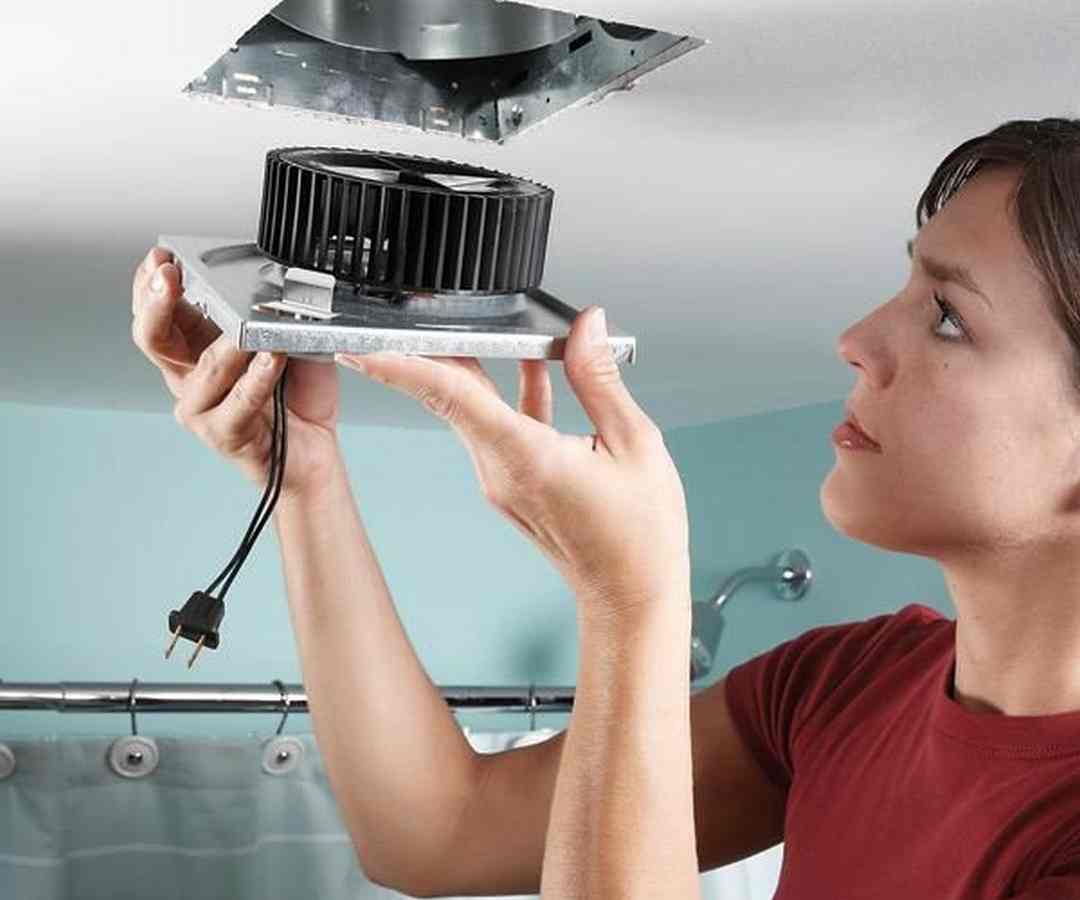
Newer-style bath fans, on the other hand, are so peaceful you can barely hear them running, and they cost really little to run. It’s simpler than you believe to switch out that loud, ineffective bath fan, specifically if you pick one that’s developed to be set up without removing the restroom ceiling.
Of the numerous replacement designs to select from, we selected the NuTone No. RN110 Ultra Pro Series since the fan can be set up from inside the restroom. It’s not the quietest design offered, however at 0.6 sones (about 25 decibels), it’s a big enhancement over the old 4-sone (about 60 decibels) fan we’re changing. If you can find a joist, cut drywall and deal with standard electrical work, you can do the entire task in about 2 hours and conserve about $200 on the setup. You’ll require a stud finder, a drywall saw, a drill and screws, and aluminum duct tape.
Purchase the best size for your restroom
There’s no such thing as a ‘‘ one-size-fits-all’ bath fan. For restrooms approximately 100 sq. ft., determine the needed cubic feet per minute (cfm) by increasing the space’s length x width x height. Multiply that outcome by.13 and assemble to the closest 10. Example: 10 ft. broad x 9 ft. long x 9 ft. high x. 13 = 105. Assemble to 110 and purchase a 110-cfm bath fan. For restrooms bigger than 100 sq. ft., merely build up the cfm requirements for each of these pipes components: toilet, 50 cfm; shower, 50 cfm; bath tub, 50 cfm; jetted tub, 100 cfm.
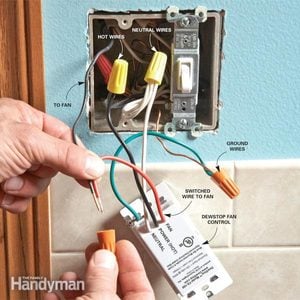
Switch off the power prior to continuing
You’ll need to get rid of the power cable television from the old system and link it to the brand-new fan. This should be finished with the power off. Do not depend on switching off the fan switch; turn the breaker also. Then confirm that the power is off with a voltage sniffer. If you’re not comfy dealing with electrical power, employ an electrical expert to get rid of and link the wires.
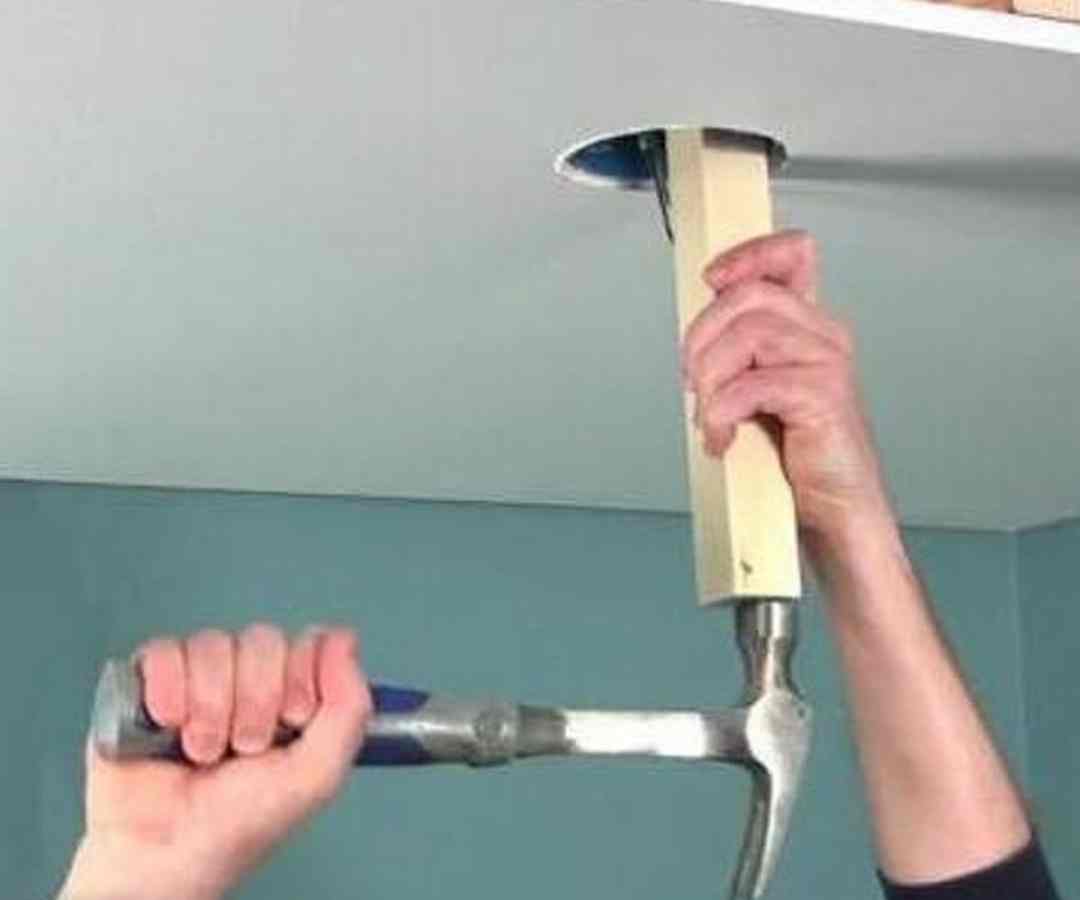
Discover the joists and duct and increase the size of the opening
 Avoid Mold with the DewStop Restroom Fan Change
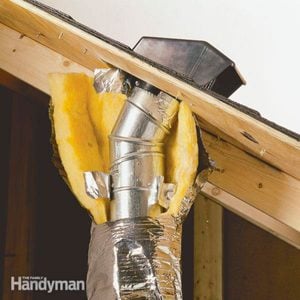 Venting Exhaust Fans Through the Roofing
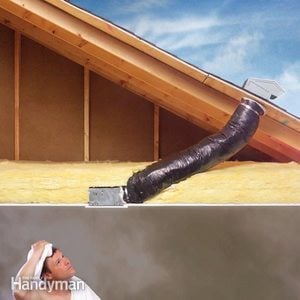 How to Fix a Restroom Fan
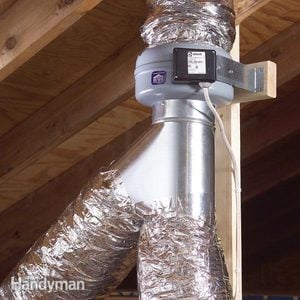 Utilize an In-Line Fan to Vent 2 Restrooms
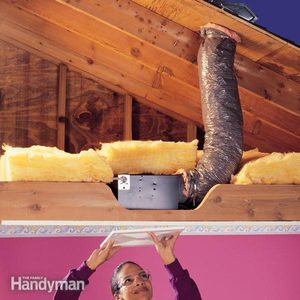 How to Set Up a Restroom Fan
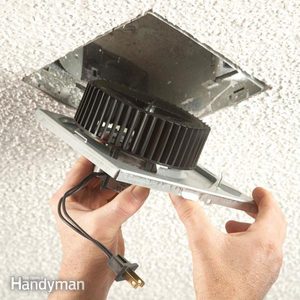 How to Set Up an Exhaust Fan
 House Air Cooling Tips
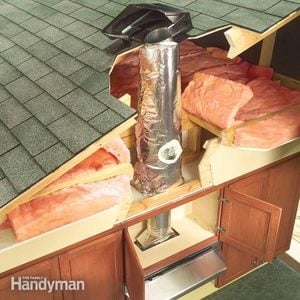 New Cooking Area Venting: How to Set Up a Kitchen Area Fan Vent
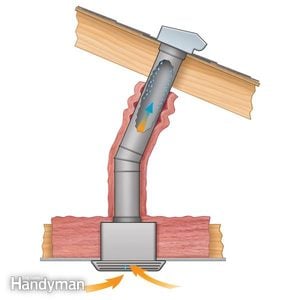 Much Better Insulation Will Prevent Water Stains Around Bath Fans
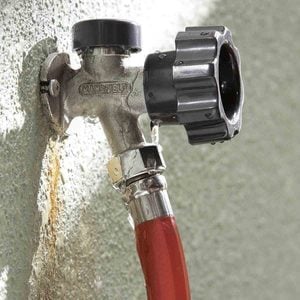 Repair a Dripping Frost-Proof Faucet
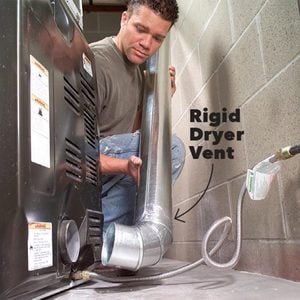
 Dry Clothing Faster with a Clothes Dryer Duct Booster
 Updating Your Garage Workshop
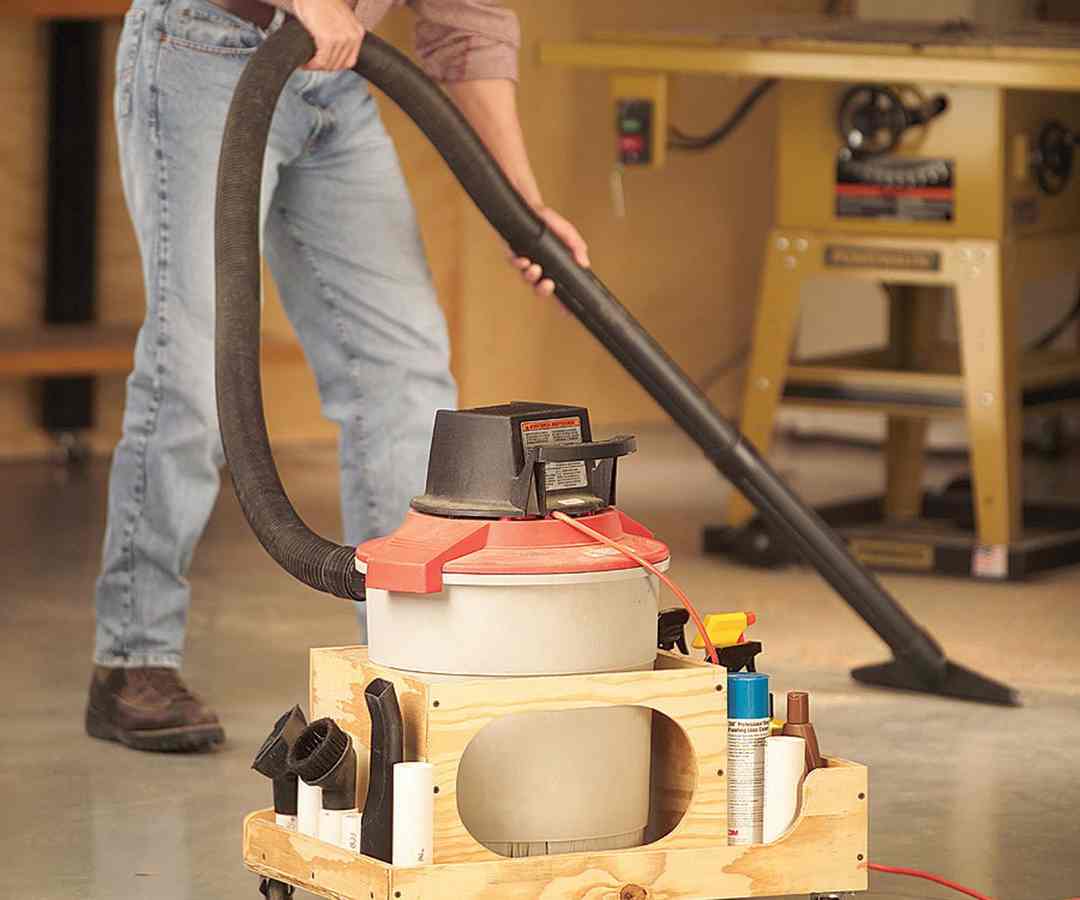
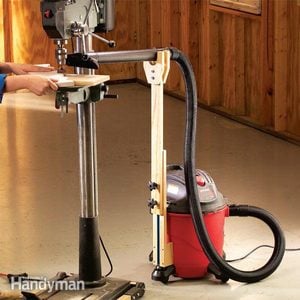 Vacuum Accessory for Adjustable Dust Control
 How to Repair a Leaking Sunroof
 How to Do It Yourself Laundry Shelves


appliances
bathroom
content types
diy
exhaust fan
house amp components
how to
rooms
skill levels
small appliances